Category: Kid Crafting

  • The 5 Types of Wonder – And Why They Matter for Your Child

    Wonder is the beginning of asking all the questions.

    And questions are how we make discoveries — about the world around us, and about ourselves. Wonder keeps us inspired. It is the spark behind every great idea that has ever existed.

    And here’s what I believe deeply: everyone wonders in their own way.

    Not every child gazes at the stars. Not every child crouches down to examine a beetle. Not every child spends hours building elaborate worlds out of sticks and stories. But every child wonders — in their own direction, in their own language, in their own beautiful way.

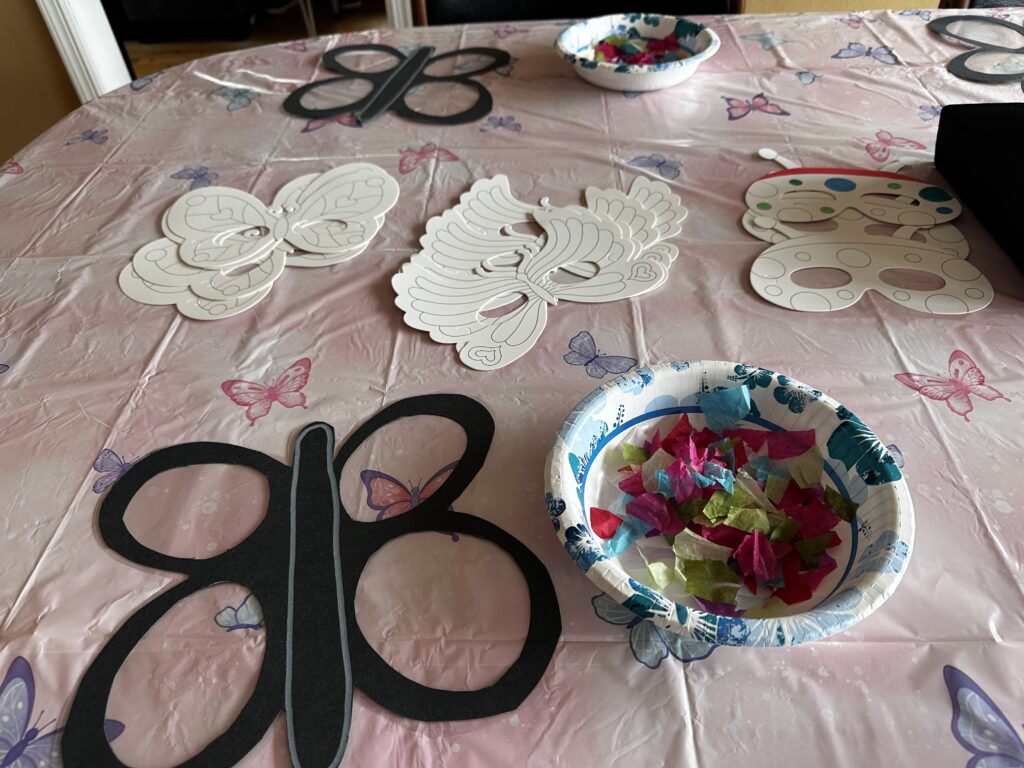
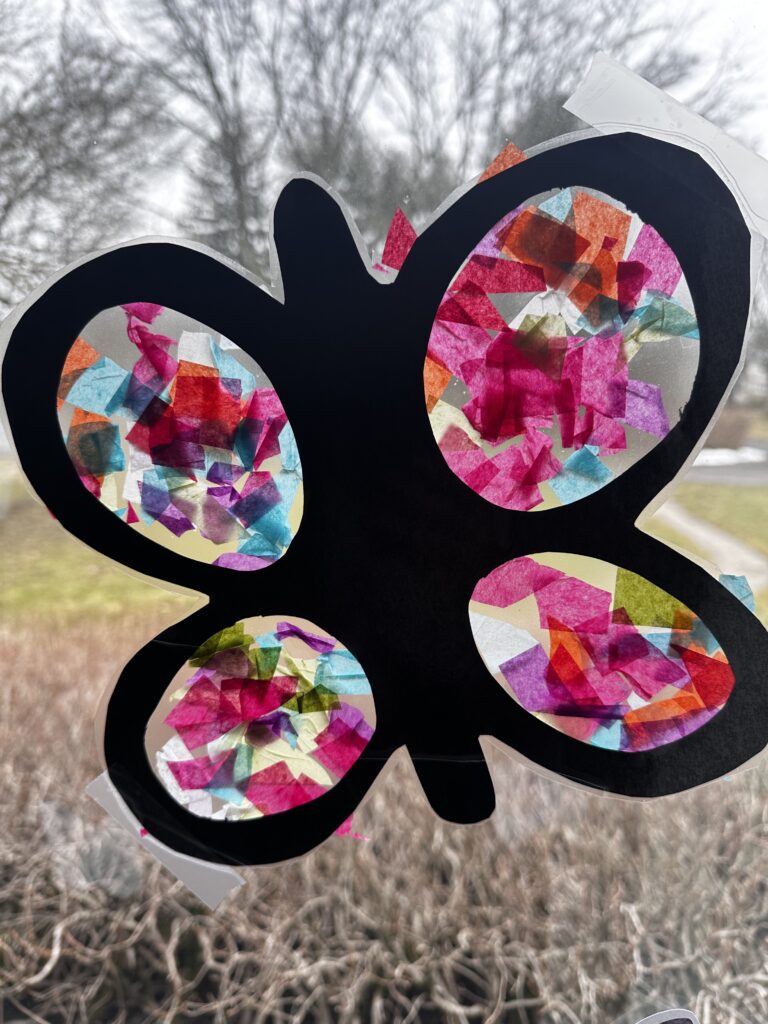
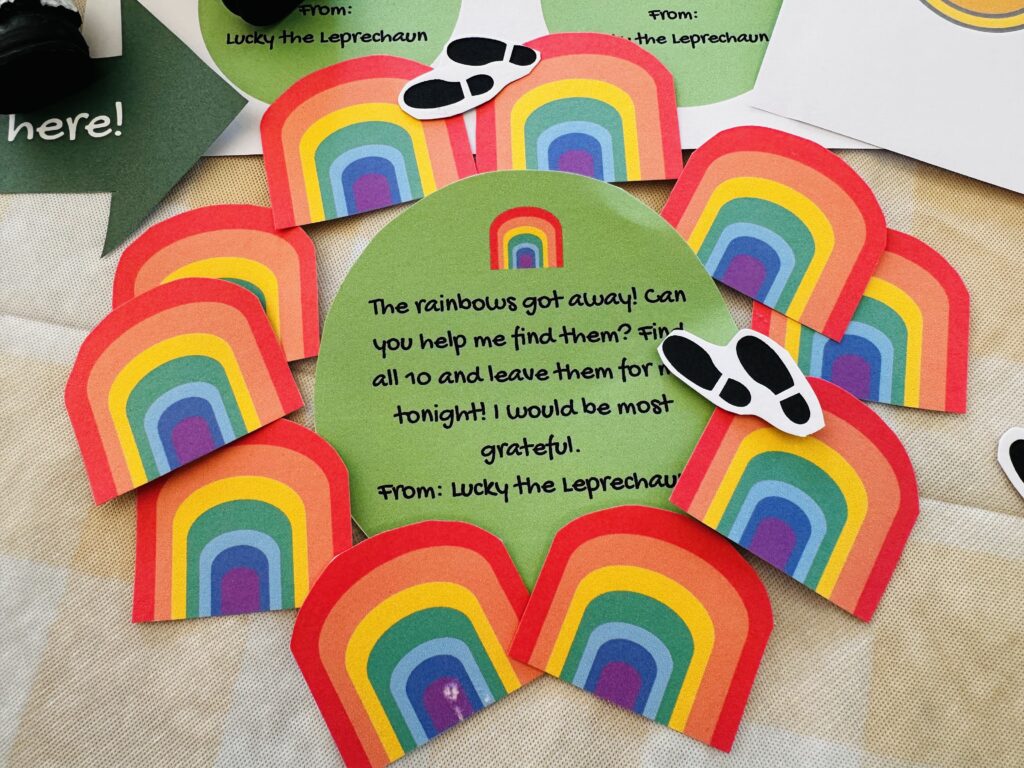
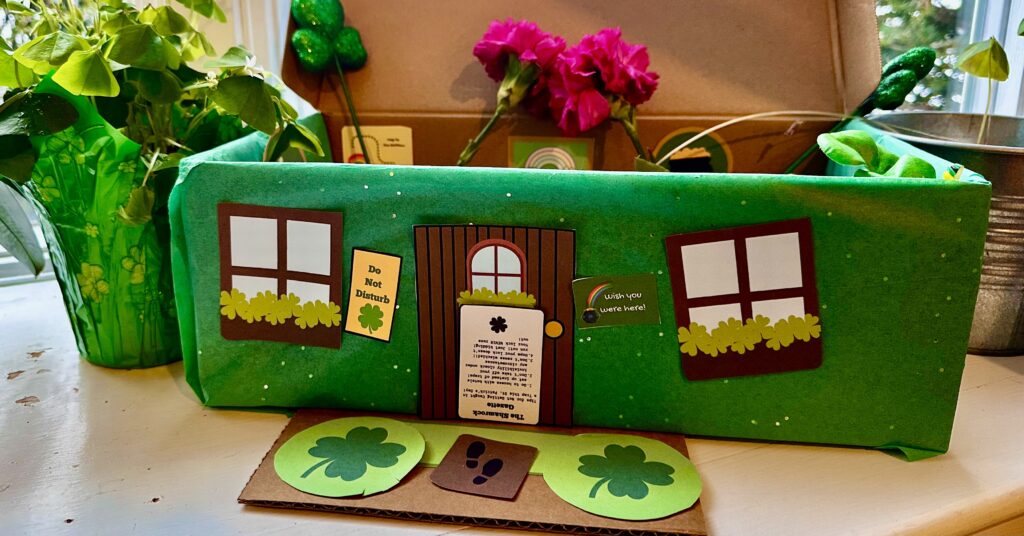
    At Wonderkin Workshop, wonder isn’t just a word in our name. It’s the entire reason we make what we make. It’s the philosophy behind everything we are building – the mini flower press, the nature scavenger hunts, the fairy coloring books . We believe that childhood is not something to be rushed through — it’s something to be wondered through.

    And over time, watching children play and create and explore, I’ve come to see that wonder moves in five distinct directions.

    5 Types of Wonder

    Wondering Down – The Observer

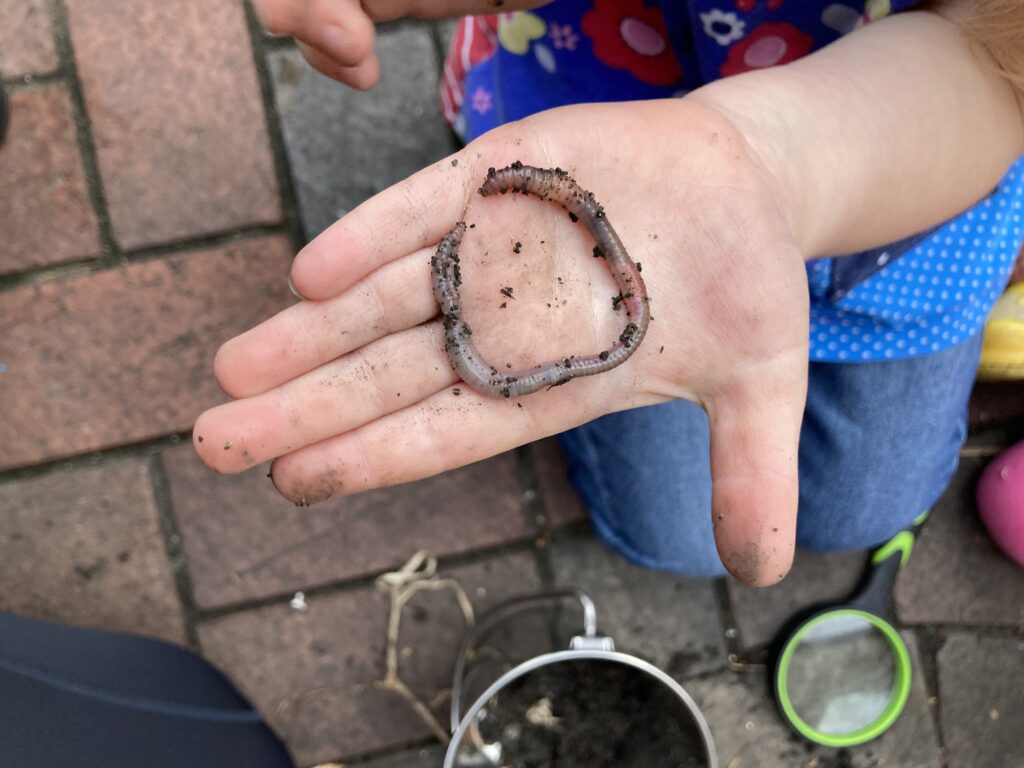
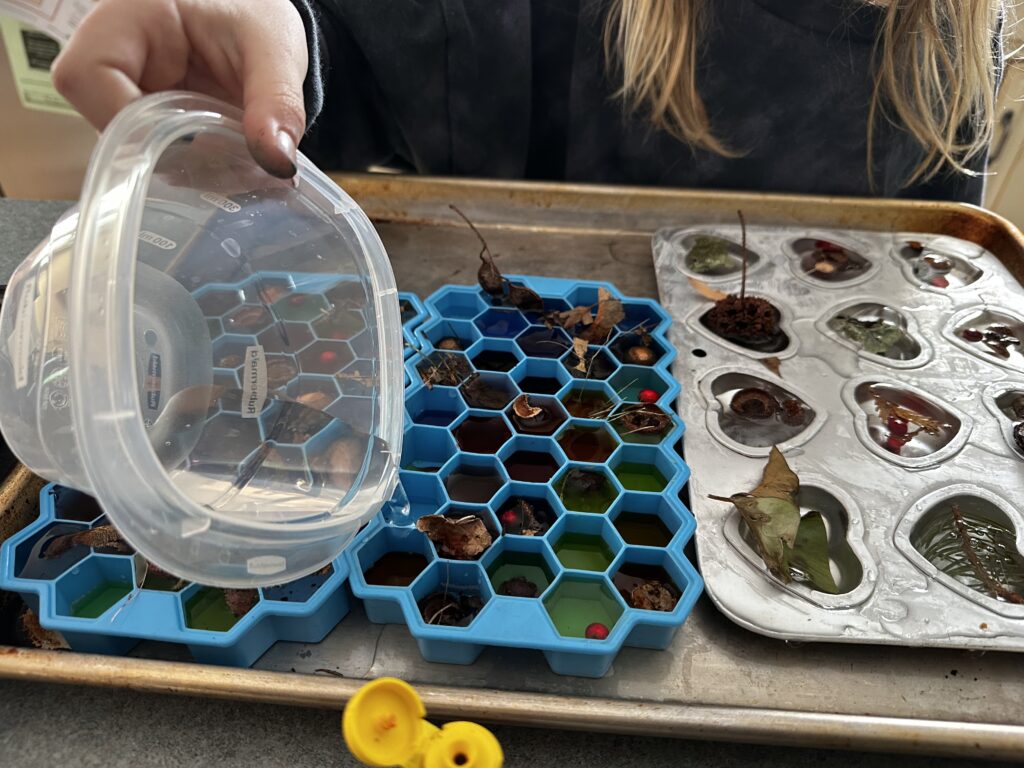
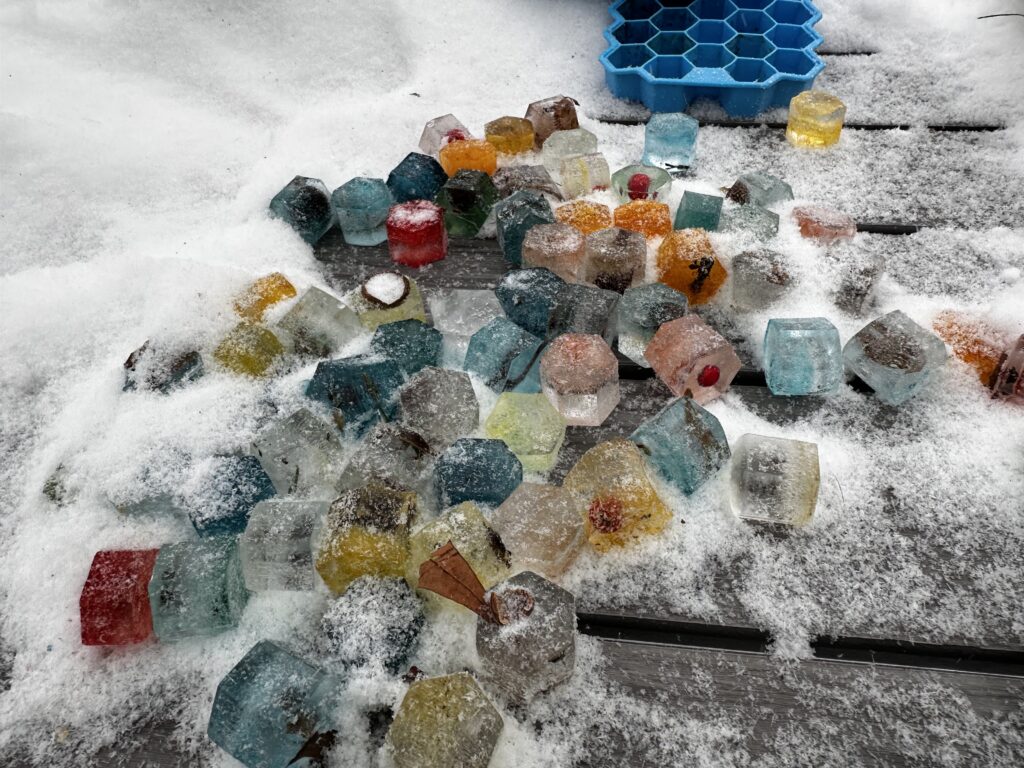
    This is the child who makes every walk take three times longer than it should.They crouch down to examine a beetle crossing the path. They notice the spider web in the corner that everyone else walked past. A child who wonders in a downward direction are drawn to the tiny world at their feet. They are natural scientists.

    If your child collects rocks, feathers, seed pods and interesting sticks — if their pockets are always full of small treasures — you have a child who likes to be “wondering down.”

    This is where the observers live. And the world needs observers.

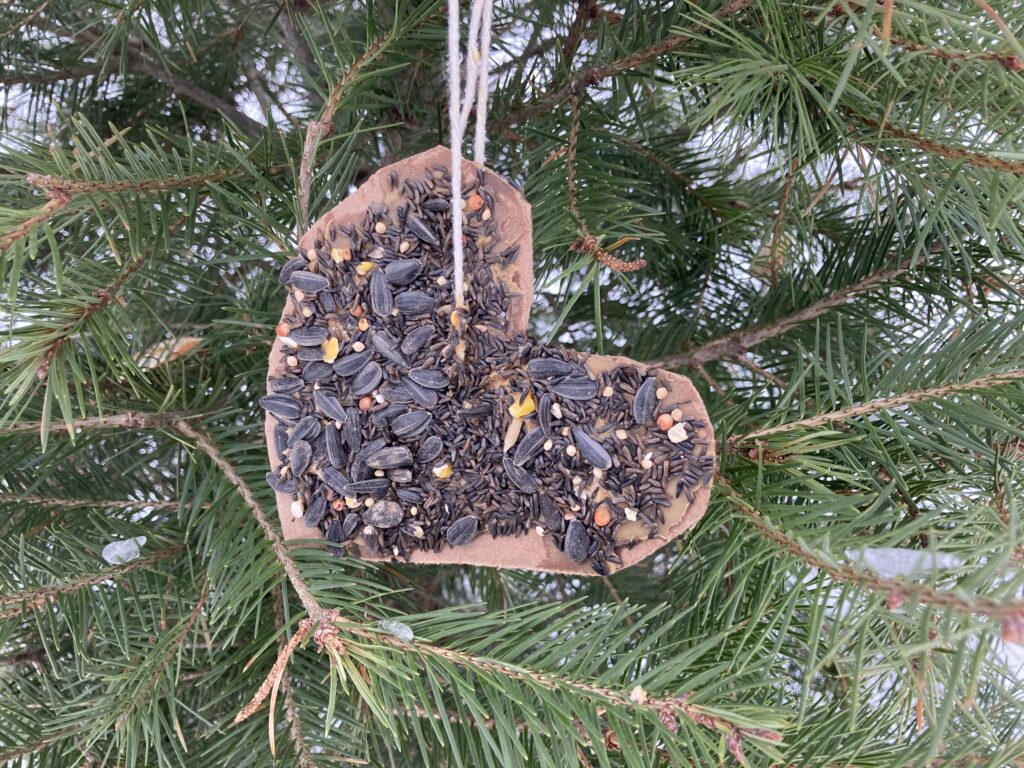
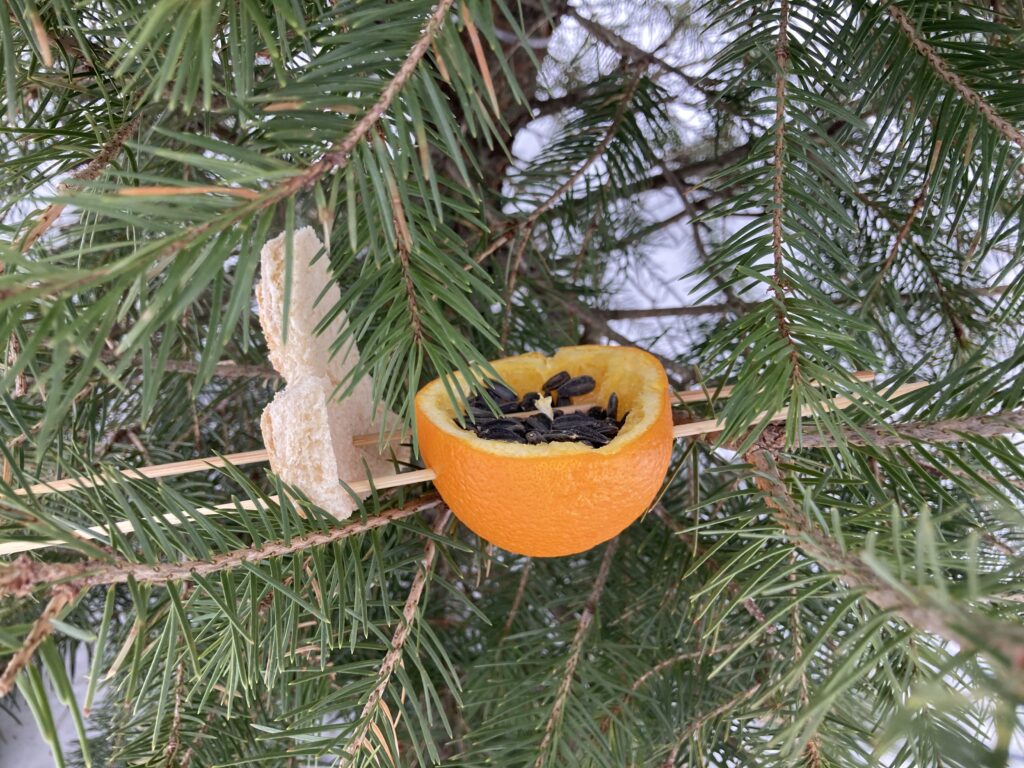
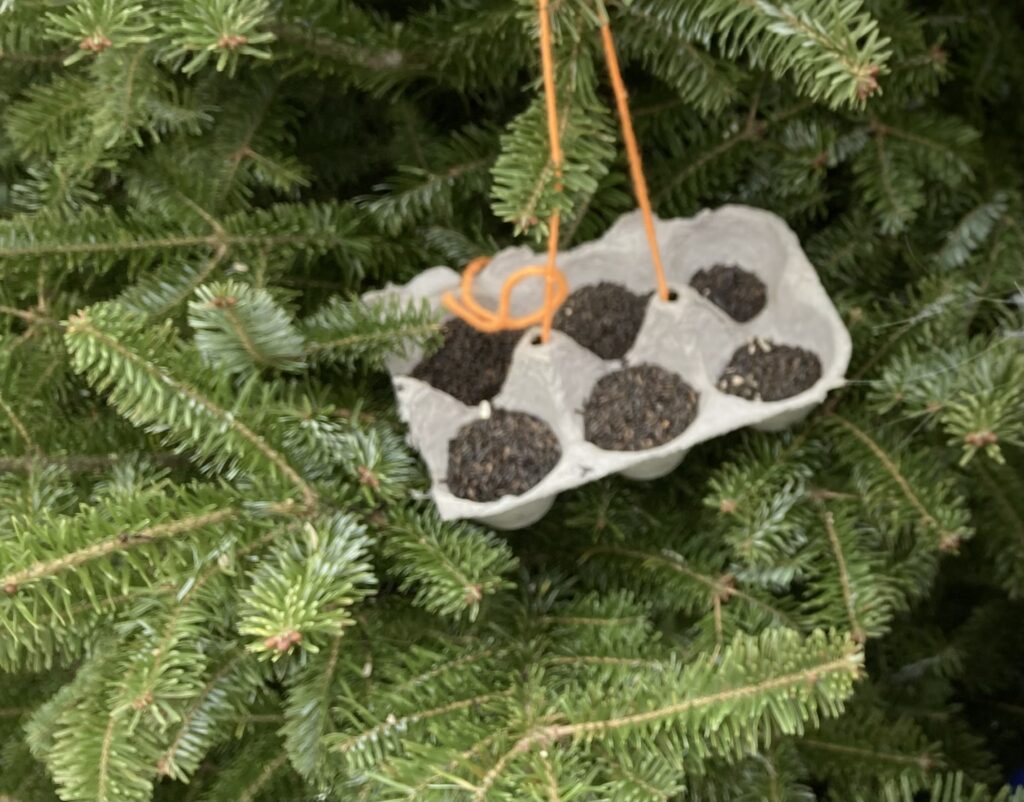
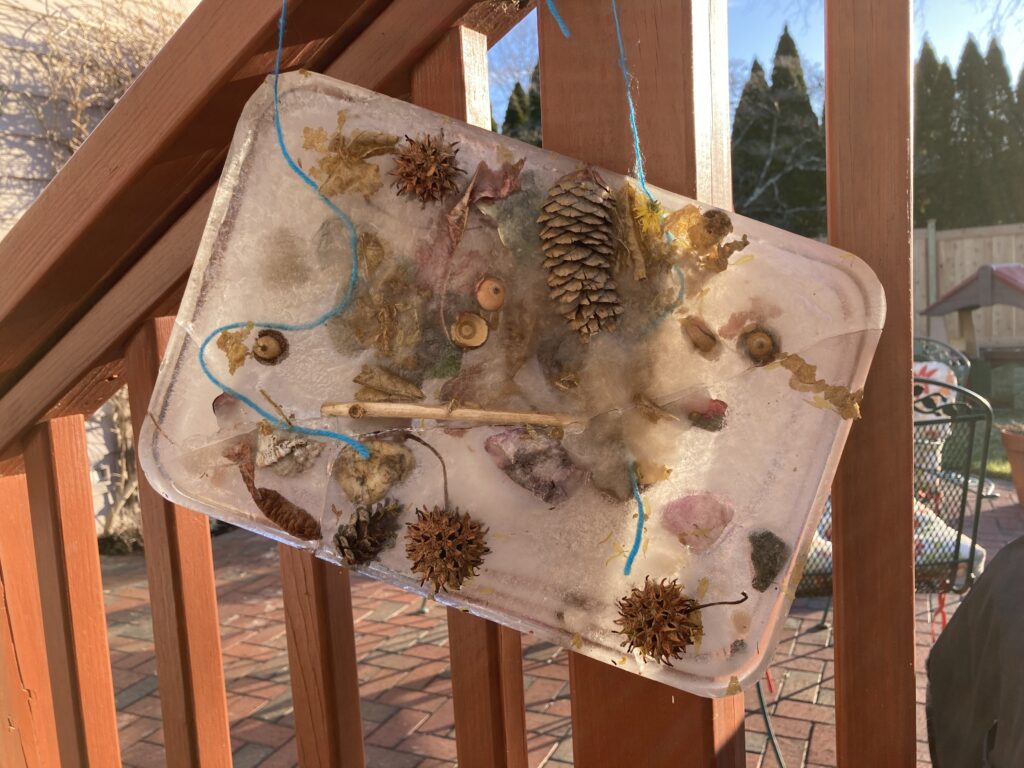
    How to nurture “Wonder Down”: Go slowly on walks. Let them stop. Keep a nature journal. Press flowers. Build a bug hotel. Give them a magnifying glass and step back.

    Wondering Up – The Dreamer

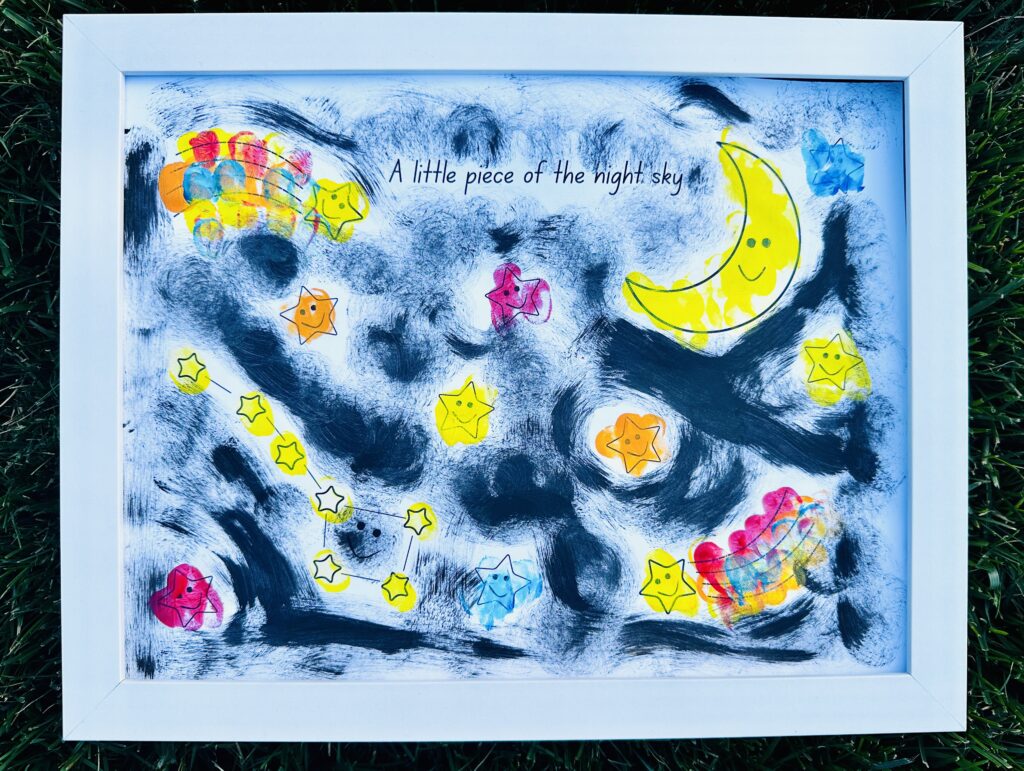
    This is the child who looks up at the sky. They ask questions with no easy answers. How big is the universe? What is beyond the stars? Could there be other worlds out there? They are drawn to the vast and the infinite —to things that are bigger than anything they can fully hold in their mind.

    Children who like wondering up are comfortable with mystery. If your child stares at the moon. If they want to know about planets and galaxies. If they lie on their back in the grass and watch clouds move and think thoughts they can’t quite put into words — you have a child who wonders in an upward direction.

    How to nurture “Wonder Up”: Stargaze together. Get a simple telescope. Do a night sky scavenger hunt. Read books about space and the universe. Sit outside after dark and just look up — together.

    Wonder Within — The Storyteller

    This is the child who gives every single thing a name and a backstory.The stick is not a stick. It is a magic wand belonging to a fairy queen who lives under the old oak tree. “Wonder Within” children live in a rich interior universe. They narrate as they play. This is not daydreaming. This is world-building. These are your future writers, storytellers, directors, game designers. Children who know how to live inside their own imagination will never be bored — and will always have somewhere to go when the world feels hard. If your child plays elaborate make-believe for hours. — you have a child who loves to wonder within themselves..

    How to nurture “Wonder Within”: Leave space for unstructured play. Don’t over-schedule. Create little invitations to imagination — a fairy door on a tree, a gnome garden, a mystery letter. Let the story unfold without directing it.

    Wonder Beyond – The Explorer

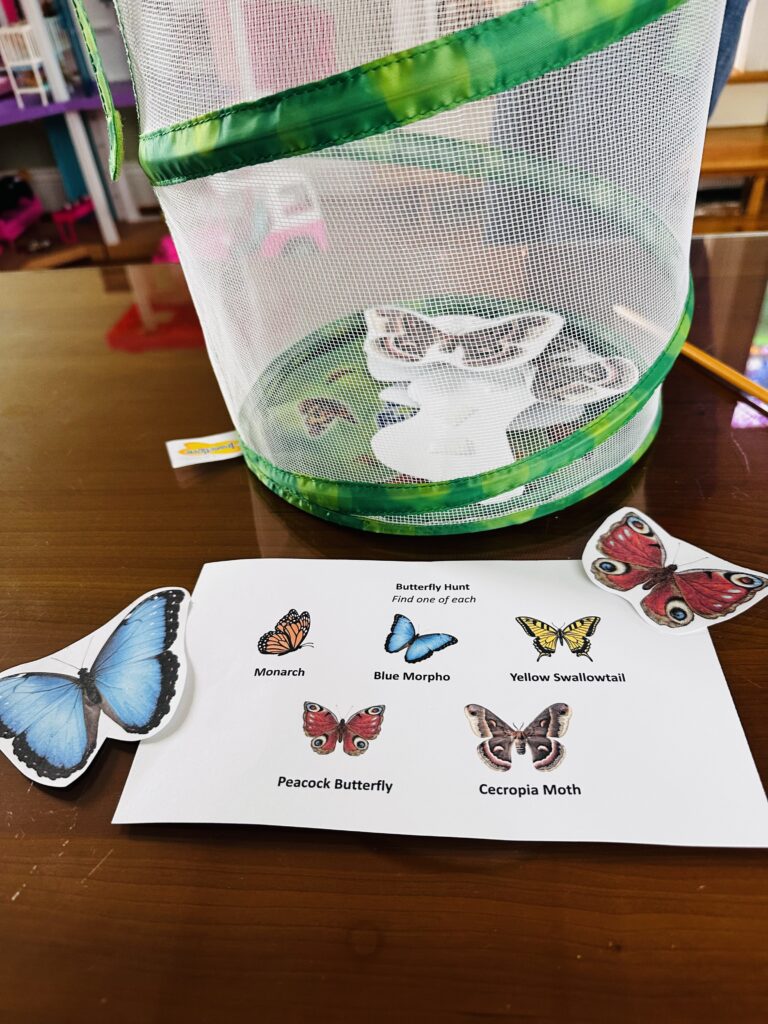
    This is the child who wants to know how other people live.What do children eat for breakfast in Japan? What animals live in a rainforest? How dopeople celebrate in different countries? They are endlessly curious about the world beyond their own experience — other cultures, other ecosystems, other ways of being human.

    “Wonder Beyond” children are building empathy as they explore. Every question about someone else’s life is a small act of connection — a reaching out beyond themselves toward the wider human story.

    If your child asks about people in faraway places. If they want to try foods from different cultures. If they are moved by stories about animals in distant ecosystems. If they ask “but what is it like for THEM?” — you have a “Wonder Beyond” child.

    How to nurture “Wonder Beyond”: Learn about endangered creatures and their ecosystems. Read books set in different countries and cultures. Look at maps together. Celebrate different holidays and traditions. Talk about what connects us as humans, even across great distances.

    Wonder How – The Maker

    This is the child who cannot leave something alone until they understand how it works.They take things apart. They build things. They ask “but HOW does that happen?” about everything from a zipper to a thunderstorm.

    “Wonder How” children are your future engineers, inventors, scientists and builders. They see the world as a series of fascinating systems waiting to be understood and improved. Give them materials and a problem and they will disappear for hours.

    If your child dismantles toys to see what’s inside. If they build elaborate structures out of whatever is available. If they want to know the mechanism behind everything — how a clock works, how a plant grows,— you have a Wonder How child.

    How to nurture “Wonder How”: Give them open ended materials — blocks, cardboard, tape,clay. Do simple science experiments together. Build them an age-appropriate workshop desk. Ask “how do you think that works?” before explaining. Let them figure things out before jumping in to help.

    A Few Important Things to Remember

    Your child might be all 5.

    These types are not boxes — they are directions. Most children lean naturally toward one or two, but wonder is fluid and overlapping and messy.

    Wonder evolves.

    A toddler who might be wondering down a lot might become a child who loves to wonder up at seven. A “Wonder Within” child who lives in fairy worlds might discover “Wonder How” when they encounter their first science kit. Trust where they are right now — and stay curious about where they’re going.

    Wonder changes with development.

    Babies and toddlers are naturally “Wonder Down” —the world is at their level and everything is new and close. Preschoolers often bloom into “Wonder Within” as imaginative play explodes. “Wonder Beyond” tends to emerge in early elementary as children begin to understand that the world is bigger than their immediate experience. “Wonder How” can spark at any age when a child encounters the right question.

    There is no best type of wonder.

    The observer and the maker and the storyteller and the dreamer and the explorer are all equally extraordinary. The world needs all of them.

    Why this framework is helpful

    If we, as parents and educators, can see a direction that children are leaning to in that moment we can also lean into it and facilitate exploration. This will help keep our children engaged and interested in learning . This ability is so important when helping them develop their sense of self.

    At Wonderkin Workshop we create fingerprint art templates, child-led play activities and hands-on products designed to nurture all five types of wonder. Because we believe
    childhood is not something to be rushed through — it’s something to be wondered through. Explore our shop and find something for your little wonderer.

    ETSY SHOP IS HERE.

    © Wonderkin Workshop. The 5 Types of Wonder framework was developed by WonderkinWorkshop and reflects our original philosophy of child-led wonder and play.

  • Make Your Own Night Sky (with a free printable)

    There’s something about the night sky that invites us to slow down and wonder.

    Whether you’re stepping outside for a few minutes after dinner or pointing out the moon from your window, those small moments can turn into something meaningful – especially for kids.

    This simple activity is a way to bring a little of that wonder indoors.

    You can download a FREE Night Sky Fingerprint Art Printable below and create your own sky filled with stars, constellations, and imagination.

    The Activity

    Using your fingerprints, paint, or markers, decorate this picture and bring your night sky to life. There is no right way to do it – every sky is different!

    As you create, you might start to notice a few things about the real sky too!

    A Few Things You Can Point Out To Kids…

    The Moon Changes Shape: The moon doesn’t always look the same. Sometimes it’s a full glowing circle, and other times it’s just a small crescent. These are called moon phases, and they change throughout the month. Next time you’re outside, try and look for the moon – what shape do you see?

    The Big Dipper: On the printable, you might notice a group of stars shaped a bit like a ladle. This is the Big Dipper, and it’s one of easiest star patterns to spot in the night sky. Right now (especially in spring and early summer in the U.S.), it’s often visible in the evening – making it a fun one to try to find together.

    Stars Aren’t All the Same: Even though stars might look similar at first, they can actually be different colors. Some appear: reddish or orange, bright white or yellow, and even slightly blue. These colors tell us something about how hot the stars are. You can add different colors to your fingerprint stars if you’d like – or imagine what colors they might be.

    Shooting Stars: If you’re lucky, you might see a “shooting star.” But it’s not actually a star – it’s a tiny piece of space rock burning up as it moves through Earth’s atmosphere. These are called meteors. They’re quick, bright, and a bit magical!

    Get the FREE printable

    You can download your Night Sky Fingerprint Art Printable here (Note, that when you sign up you will need to confirm your subscription before receiving the printable! The initial email may land in your junk mail):

    Get Your FREE Night Sky Fingerprint Art Printable Here!

    Sign up here and you will also receive a monthly newsletter with more free resources.

    We don’t spam! Read our privacy policy for more info.

  • Turn Any Door Into a Peekaboo Bunny – Free Printable!

    Want a quick and magical Easter activity for your kids?

    This Peekaboo Bunny Door printable turns any door into a fun surprise in just 10 minutes! Perfect for keeping little hands busy and adding a touch of seasonal magic.

    What’s Included in the Freebie

    The black & white version of the Peekaboo Bunny Door includes:

    • Two bunny face templates (for the right and left side of the door)
    • Paws for attaching to the doorframe
    • Eggs

    Your kids can color, cut, and assemble their very own peekaboo bunny – simple, fun, and full of magic.

    How to Make it

    1. Print the black & white templates
    2. Color and cut out the pieces
    3. Glue or tape the bunny ears to the faces
    4. Tape the bunny to the door. Make sure to tape the bunny paws on the frame so that it looks like it’s jumping out of the frame.

    Want the full experience?

    The full color version comes with:

    • A bunny that template that peeks over the doorframe (in addition to the sides)
    • A bunny bottom with cute tail and footprints
    • Cute carrots to put around the door

    Click here to get it on Etsy!

    Get Your Free Printable

    Sign up for my newsletter and instantly download your free black & white Peekaboo Bunny Door!

    Important: when you sign up you will be sent an email confirming that you want to be signed up! This may land in your junk folder. Once you confirm then you’ll be sent the free printable!

    Glad you are here!

    Get your free peekaboo bunny door printable! Sign up here and you will also receive monthly newsletter with more free resources to make your season magical!

    We don’t spam! Read our privacy policy for more info.

  • Butterfly party activities for my 6-year old

    My daughter wanted a butterfly-themed birthday party, so I came up with a simple set of activities that ended up being a big hit with the six-year-olds. I love the idea of building a party theme around a specific animal because it creates so many opportunities to learn about the animal (or insect!) while also having a lot of fun.

    This format could easily work for any animal your child loves. If you have a kid who is into tigers, turtles, axolotls, or anything else, you could use the same structure and adapt the activities.

    At our butterfly party, we did three main activities:

    1. We found the butterflies
    2. We made a butterfly
    3. We became butterflies

    Butterfly party activities

    For the first activity, I printed out butterflies and hid them around the house. The weather was cold and rainy, so we kept this indoors, but it actually worked out really well for our group.

    Each child had to find five different butterflies. I gave them a checklist, and once they found one, they added it to our butterfly net. I included five different butterfly types on the list, which made it a nice opportunity for the kids to notice that there are many kinds of butterflies in the world.

    If you’d like to try the Butterfly Hunt activity at home, I created a simple printable you can use with your kids for a party. Just print the butterflies and checklist. Print one set of 5 butterflies for each child. Hide the butterflies around the yard or house. TIP: Give the kids a little bag and tell them to match the butterflies to their card – they might collect duplicates by accident! Also, printing on cardstock is always best for durability, but regular paper works too.

    You can download the butterfly hunt activity here

    Next, we made butterfly sun catchers. I cut out black butterfly outlines and backed them with contact paper. The girls used small pieces of colorful tissue paper to create their butterfly wings. It was a simple craft, but everyone really got into designing their own butterfly.

    Finally, the girls became butterflies.

    We decorated masks using simple masks I bought ahead of time and paint markers. Everyone had fun adding their own designs and colors. After the masks were finished, we put on butterfly wings (also purchased ahead of time). To make it extra fun, I hung up a forest backdrop and took photos of the girls in their butterfly costumes.

    And Then… We Ate the Butterfly

    To wrap up the party, we ate the butterfly! Our local grocery store made a butterfly-shaped cupcake cake, which was a huge hit with the kids.

    I love this simple party format because it’s easy to recreate with so many different animals. Find the animal, make the animal, become the animal—it’s simple, fun, and perfect for kids ages 4–8.

    Amazon links:

    Masks: 24 blank butterfly and insect masks for kids to color and decorate, made of high-quality, flexible paper. It’s a popular product!
    https://a.co/d/0c13Pob3

    Butterfly Wings: D.Q.Z Fairy-Butterfly-Wings Costumes for Toddler Dress Up Clothes Toys for 3-9 Years Old Girls Boys Bulk Gifts Party Favors
    https://a.co/d/09YOLWSd

    Paint Markers: High-quality acrylic paint markers with fine and broad tips, 48 vibrant colors for detailed designs and large areas.
    https://a.co/d/0e1vvpx5

    If you enjoy simple seasonal activities like this, you might also like some of our other printable hunts and creative kits.

    Leprechaun Hotel Activity

    Carrot Family Printable

    Seasonal Nature Scavenger Hunts

    Spring Kindness Door Hanger Kit

    In Wonder,

    Rachel

  • 7 Last-Minute Ways to Create St. Patrick’s Day Magic for Kids

    Last-Minute Ways to Create St. Patrick’s Day Magic for Kids

    If you’re like me, sometimes holidays sneak up on you. Suddenly it’s the night before St. Patrick’s Day and you realize you haven’t planned anything to make the day feel special.

    It’s especially tricky when holidays fall in the middle of the week and things like work, school, and everyday life take up most of our energy. And then the mom-guilt creeps in.

    But here’s the truth: kids don’t need big celebrations to create lasting memories. Often it’s the small, magical moments that stick with them the most.

    Here are a few simple, last-minute ways to add a little St. Patrick’s Day magic to your day.

    1. Go on a Rainbow Hunt! Cut out a few paper rainbows and hide them around your house for your kids to find. You can turn it into a mini scavenger hunt or leave a small prize at the end — maybe a chocolate coin or a lucky treat.
    2. Hide Leprechaun Coins. Scatter a few “leprechaun treasures” around the house or yard. These can be plastic coins, chocolate coins, cut-out paper coins, or even spare change you have lying around.
    3. Serve Green Milk at Breakfast. A drop of food coloring turns ordinary milk into something magical. Pair it with Lucky Charms or your kids’ favorite cereal for a simple but fun St. Patrick’s Day breakfast.
    4. Send a Postcard from the Leprechaun. Leave a postcard or note that arrives from a leprechaun who has returned to Ireland after his visit. Kids love the idea that the leprechaun thought of sending them a message from across the world. Maybe show them on the map where Ireland is (for a mini geography lesson!).
    5. Try a March Nature Scavenger Hunt. Head outside and look for early signs of spring. Make a list of things kids can find in your area during March, like something blooming, a clover, something yellow, or even try to find all the colors of the rainbow in nature.
    6. Find a Lucky Charm in Nature. While you’re outside, see if you can find something “lucky” to keep. Some lucky charms we love to look for are four-leaf clovers, wishing stones (stones with a single unbroken ring around them), heart-shaped rocks, acorns, or any small natural treasure that feels special.
    7. Build a Leprechaun Trap or Hotel. Of course, you can always try to catch that tricky leprechaun! Another favorite activity in our house is making a leprechaun hotel — a cozy place where a traveling leprechaun might stop for the night. For this activity, I like to raid the basement and gather things like boxes, toilet paper rolls, green paper, pipe cleaners, and other craft supplies. Then I set everything out on the table and let my kids’ imaginations run wild as they design the perfect leprechaun hideaway.

    ✨ The best part about these activities is that they don’t require a lot of planning. Even a tiny bit of whimsy can turn an ordinary day into something magical for kids.

    St. Patrick’s Day Printables

    If you want an easy printable activity, I also created a few St. Patrick’s Day printables in my shop to make adding a little magic even easier.

    Leprechaun Hotel Instant Digital Download

    Leprechaun “Was Here” Evidence Kit Instant Digital Download

    March Nature Scavenger Hunt

    In Wonder,

    Rachel

  • 7 Ways to Create Winter Magic With Your Kids

    The last half of winter can feel LONG. The holidays are over, the days (at least here) are cold. Most of us are just trying to get through the week 🙂

    While the earth seems like it’s sleeping, there is a lot of magic going on around us. It just takes a moment to find it sometimes!

    The good news is that inviting wonder does not require you to go on a 2 hour hike through the snow. Sometimes 5, 10, 30 minutes of time outside or creating things inside is all you need to feel the magic.

    Here are some activities to try with your kids:

    1. Find the Orion constellation (or the moon) on a clear night.
    • Step outside after dinner (on a clear night) and look up at the night sky. Look for three bright stars in a row – this is Orion’s Belt. Point out the red star at the end of Orion’s left arm and explain how that is Betelgeuse. This is my favorite constellation in the winter sky because you can see it even in very light polluted skies. If Orion is hard to spot for the little ones then point out the moon and talk about the different phases.
    • Ideas for extending the activity, if it’s not too cold out make a hot chocolate picnic in little mugs. If you have a fire pit, then light a fire and have a night time mini celebration.

    2. Take a puddle walk

    At this time of year, there is usually a lot of MUD and puddles from the melting snow. Take a puddle walk around your neighborhood.

    Dress your kids in rain boots, clothes that can get wet and let them jump in as many puddles as they can! This is messy and usually my kids are pretty cold by the end of it (so plan for a short walk if there are a lot of puddles nearby), but they LOVE being given this freedom to do this.

    3. Make love potions

    • Get back into that outdoor kitchen or create a little spot where kids can cook up some love potions.
    • I love taking some old flowers (maybe from Valentine’s Day) and setting the kids up with the petals and some red dye and fun bottles so that they can cook up a love potion. If there is snow and melting ice – this can be use for the water. They may not last as long outside as they would in the spring or summer but it’s a nice way to get them out in the backyard for a bit.

    4. Go on a worm hunt!

    • In our biome, around the beginning of March the ground starts to thaw. And, that means one thing – WORMS! Grab a bucket and shovel and go on a hunt for worms. We have some spots in our yards where we know they like to be so we usually start there.
    • This is a great activity for teaching kids how to be gentle to the creatures – we always put them back since they have important work to do for the soil.

    5. Show the birds some love

    • Make some bird feeders – there are so many to choose from. I put some ideas below but there is no need to get fancy – just use what you have in stock. The first photo is just some cardboard, a layer of peanut butter and seed. The second photo is a carved out orange with two rods sticking through to hold on the branches. The last photo is just an egg carton filled with seed 🙂
    • Leave out some water in a pan for them – if everything is frozen it’s very hard for the birds to get a drink. So, giving them some water if it’s very cold in your biome is a great way to show some love.

    6. Make some ice sun catchers or ice gems!

    • This is such a fun way to get outside for a quick activity. Give the kids some pans, nature treasures and water and let them create. I have included some ideas below. Or you can make them inside, set them outside (or in the freezer!) to freeze. Once frozen you can invite your kids outside to take them out of their containers.

    7. Build a Leprechaun Hotel

    I know everyone is all about the traps (and these are fun too!) – but, we think building a hotel for the leprechauns is more fun! We think about all the things a leprechaun may want to be comfy for the night . We just take a box and make a door, windows, and then decorate the inside and outside of the box with things the leprechaun would like – like a bed, pictures, fireplace, rainbows, coins, shamrocks, etc. Maybe the leprechauns will stay the night and leave a little magic behind 🍀.

    Resources for making your end of winter magical can be found on my Etsy shop. Check it out!

    • Leprechaun Hotel PDF Pattern/Printable
    • Winter night sky scavenger hunt
    • Mud kitchen menus and recipe cards

    In Wonder,

    Rachel

  • The Power of Modeling Wonder and Curiosity For Kids

    And a tutorial for sewing felt hearts

    I’m beginning to realize how important it is to model wonder, and to regularly express curiosity out loud, in front of my kids.

    Recently, I found myself wondering if I could sew a simple star out of felt. I’m not particularly skilled at sewing; I know a few basic stitches and that’s about it. But instead of dismissing the idea, I followed the curiosity. I gathered some felt, thread, and a needle and worked my way through a small craft project.

    When I showed my kids the little star I made, they were genuinely impressed. My eight-year-old immediately asked if she could try sewing something herself. I gave her the supplies, and she dove right in.

    Before long, she had decided to sew felt hearts for all of her classmates for Valentine’s Day. She made a plan, created a supply list, and worked steadily to complete the project almost entirely on her own (with just a little guidance from me).

    It struck me that my small act of wondering, “Could I sew a star?” and my willingness to try, struggle a bit, and share the result had become a catalyst. It sparked something in her. What began as a tiny flicker of curiosity turned into a beautiful ripple effect.

    This experience reminded me that modeling wonder doesn’t have to be big or elaborate. Even if you’re busy and don’t have the time or energy for a sewing project, simply expressing curiosity out loud matters. Wonder about a new recipe you’re trying. Pause to admire the moon. Notice the colors in a sunset.

    When children hear us say, “I wonder…” they learn that curiosity is valuable. They learn that trying new things — even imperfectly — is worth it. And sometimes, that small expression of wonder is all it takes to inspire something truly wonderful in them.

    Here are the instructions for the felt hearts:

    Supplies:

    • Felt
    • Fabric with different patterns
    • Needle ( big eye is important to make it easy to re-thread) and thread
    • Fluff for stuffing
    • Scissors
    • Fabric pencil (or really any pencil to help with cutting out patterns)
    1. Decide on your shape. We did hearts for Valentine’s Day, but you could do stars, circles, squares, etc.
    2. Cut out your shape, make two identical pieces (one for the front and one for the back). If you are making a lot of them, then create a stencil that you can use to outline the shapes on the fabric so it’s easy to cut.
    3. Cut out your smaller shape in the fabric. We just did a smaller heart to be in the middle.
    4. Sew the smaller shape in the middle of the front piece.
    5. Sew the two pieces together, leaving an opening for the fluff. Stuff in the fluff and then continue sewing to the end.

    Some tips: The big eye of the needle is important. The thread comes out easily and it’s best for the eye to be big so that it can be re-threaded over and over again. I needed to help with the tying knots and also tying up the last stitch so that it won’t come out. A nice pair of fabric scissors is nice for cutting the felt – they are sharp so depending on the abilities of your children, you may want to help them out with the cutting.

    Have fun!

    In wonder,

    Rachel

  • Giant Heart Sun Catcher Tutorial

    Struggles with cooperative crafting

    As a mom of two daughters (one is 8 and the other 5), it can be a serious struggle to find an activity that they can work on together without getting frustrated. My 8 year old is a perfectionist and my 5 year old is just learning all the crafting skills – and she just doesn’t do it as perfectly as the 8 year old wants. I really wanted this project to be something that they could work on together and be equally proud of when it went up.

    Before they got home from school I put the frame of the heart together so that they could have fun with putting the tissue paper in the middle. The 8 year old was excited for the craft, but the 5 year old initially didn’t even want to participate. I think she compares herself to her sister and it’s hard to meet her perfectionist standards. I am really trying to build her confidence up so we started small by me saying, “Want to just cut up or rip some tissue paper?” I said it doesn’t have to be perfect and it’s meant to look a little messy. By relieving the pressure to make a final perfect product she started cutting and eventually got really into it. She helped put the tissue paper on the heart and everything! I felt really proud of her for participating. The 8 year old wasn’t totally happy with the color combination and the placement of the tissue paper but I reminded her that her sister could decorate her section the way she wanted to and that this craft didn’t need to be “perfect.” I was also proud of my 8 year old for showing some flexibility!

    This craft is very easy and only needs a few materials:

    • Poster board (I didn’t have poster board so I found an old gift bag that I could cut up).
    • Contact paper
    • Tissue paper
    • Black paint and paintbrush (or whatever color you want)
    • Scotch tape for hanging on your window

    Here are the steps:

    1. Cut out heart frame (by folder poster board together)
    2. Paint the frame
    3. Place the frame on contact paper
    4. Cut up or rip the tissue paper and place on contact paper

    Enjoy! If you enjoyed this please pin it and follow my page for more ideas.

    With wonder,

    Rachel

  • Welcome to Wonderkin Workshop

    Hi everyone—welcome to the very first Wonderkin Workshop blog post! I want to start by sharing why I created Wonderkin, because at its heart, this work is deeply personal.

    Like many parents, caregivers, and teachers, I’m always looking for simple, low-cost ways to help children wonder about the world around them. I want kids to experiment, make messes, ask questions, and play freely. I want them to notice things. To look up. To feel curious instead of constantly entertained.

    At the same time, it’s hard to ignore what’s happening around us. Kids are spending more and more time on screens, and many of us worry about what that means—for their creativity, their relationships, their ability to be bored, and their sense of self. Add in the rapid rise of AI and social media, and the questions get even bigger.

    Will our kids know how to find meaning in their work?

    Will they feel capable and curious in a world full of distractions?

    Will they be able to look up from their screens and engage deeply with life?

    Those are heavy questions. Wonderkin isn’t about answering them but it is about creating space to practice something different.

    The second reason I started Wonderkin is even more personal. This past fall, I was laid off from a research job I held for 15 years. It was a punch in the gut. But after I had time to reflect, I realized that the loss also opened a door. It gave me the chance to invest my energy in something that sparks wonder—not just in children, but in myself.

    Because here’s the truth: children don’t discover wonder on their own. They learn how to have wonder from the adults around them. And when caregivers are exhausted, overwhelmed, and stretched thin, that sense of wonder is often the first thing to go.

    Wonderkin Workshop exists to help bring it back.

    This space is about offering gentle, doable ideas that help children step away from screens and reconnect with nature, with their curiosity, and with themselves. Through simple activities, printables, craft kits, and tools, Wonderkin supports families in creating meaningful moments of wonder without pressure, perfection, or overwhelm.

    When children learn how to choose curiosity over screens, even in small ways, they’re building something lasting. They’re practicing how to notice, imagine, and care. And those skills—quiet as they seem—are the foundation for future adults who can do amazing things.

    I’m so glad you’re here.